Dies ist eine alte Version des Dokuments!

Webex Teams
Webex Teams is a part of the Webex-Family, which is dedicated to digital Collaboration and working in Groups in a professional context. With Webex Teams you can organize and lead your Team and chat with your colleagues or students, exchange Files, hold videoconferences ad-hoc, use virtual whiteboards and do much more.
Usage of Webex Teams
<html> <style> .popupHintergrund { background-color: LightSteelBlue; border-radius: 5px; padding-left: 10px; padding-right: 10px; } </style> <body>
<details> <summary><b style=„text-decoration: underline;cursor: pointer“>Sending a message to people in Webex Teams</b></summary>
</html>
1. Via the Searchfunction or via the + at Contact Person you can search for the person you want to send a message to.
2. By clicking on the name you will open the Chat.
3. Here you can send a message.
</details>
<br>
<details> <summary><b style=„text-decoration: underline;cursor: pointer;“>Arbeiten in Bereichen</b></summary>
</html>
Mit Webex Teams haben Sie die Möglichkeit, sogenannte Bereiche und Teams zu erstellen. Diese dienen als Räume, in welchen Sie mit anderen Personen chatten, Dateien austauschen oder gemeinsam an virtuellen Whiteboards arbeiten können. Bereiche und Teams ähneln sich dabei stark und besitzen bis auf wenige Ausnahmen die gleichen Funktionen.
Eine sinnvolle Aufteilung für die Lehre könnte bspw. eine Nutzung des Bereichs als zentrales Hub für einen bestimmten Kurs sein, in welchem die Teilnehmenden untereinander kommunizieren können und Teams als informelle Arbeitsgruppen der Studierenden und Mitarbeitenden untereinander in Kontakt treten können.
Im Folgenden werden die Bereiche mit ihren Funktionen erläutert.
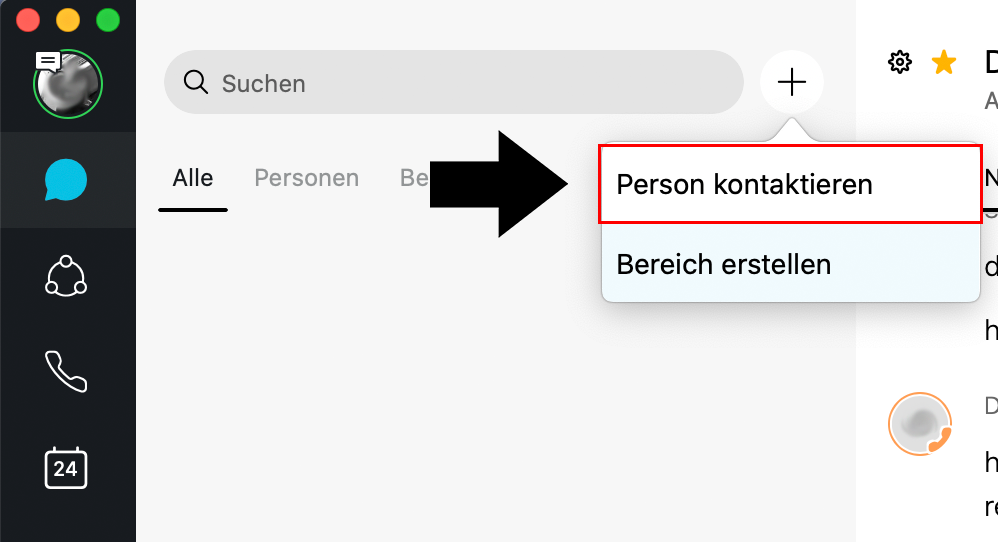
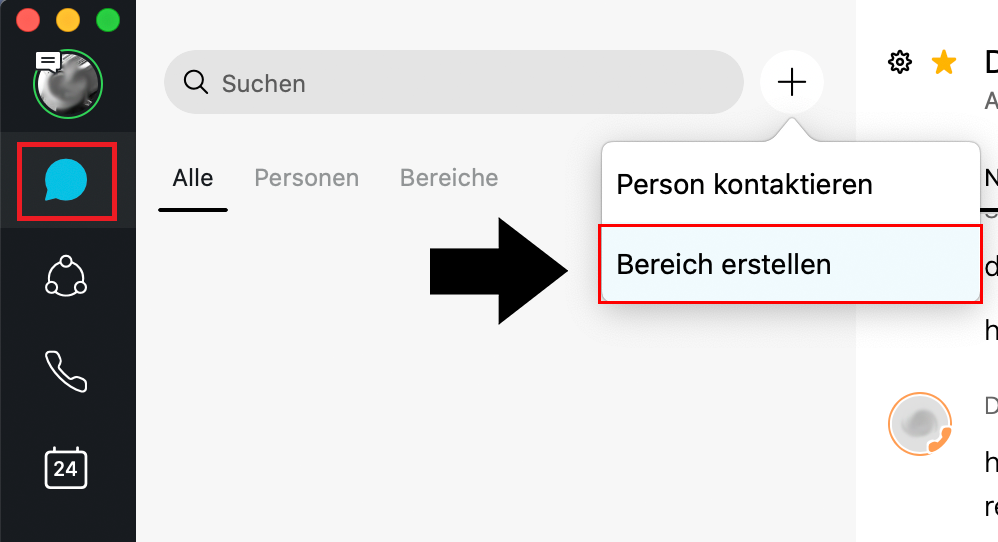
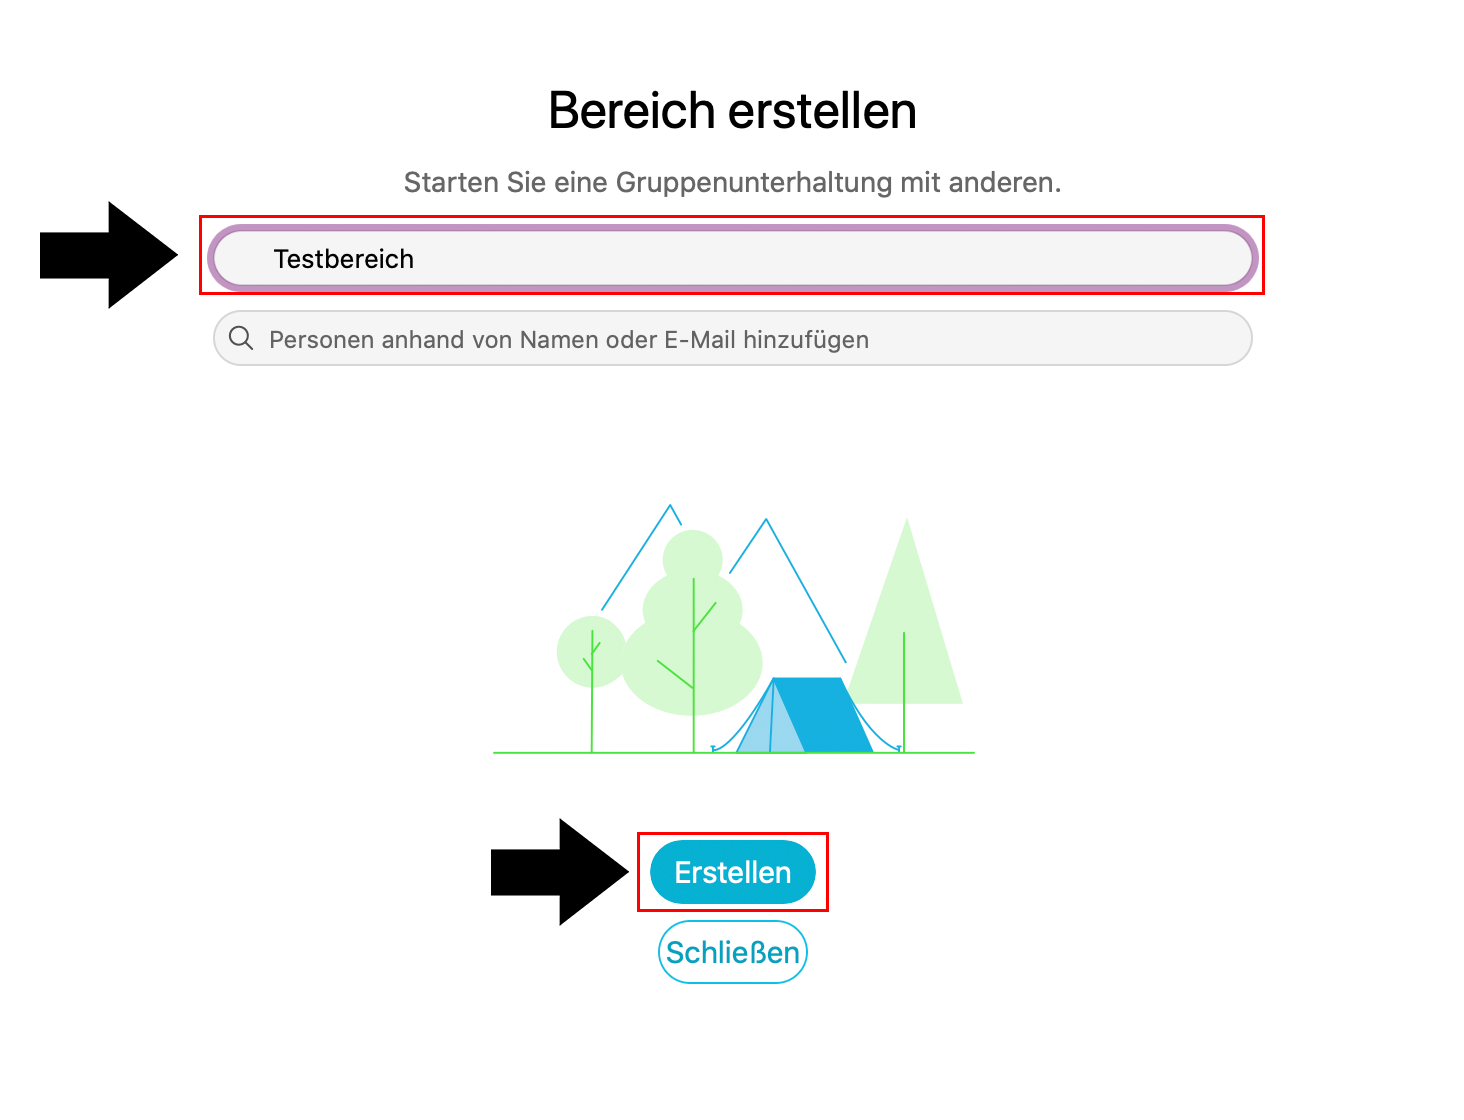
1. Um einen neuen Bereich zu erstellen, klicken Sie in der linken Leiste auf das Chat-Symbol. Neben der Suchleiste finden Sie ein Plus-Symbol. Mit einem Klick erhalten Sie die Option, einen neuen Bereich zu erstellen. Es erscheint ein neues Fenster, in welchem Sie den Bereich benennen und Mitglieder einladen können.
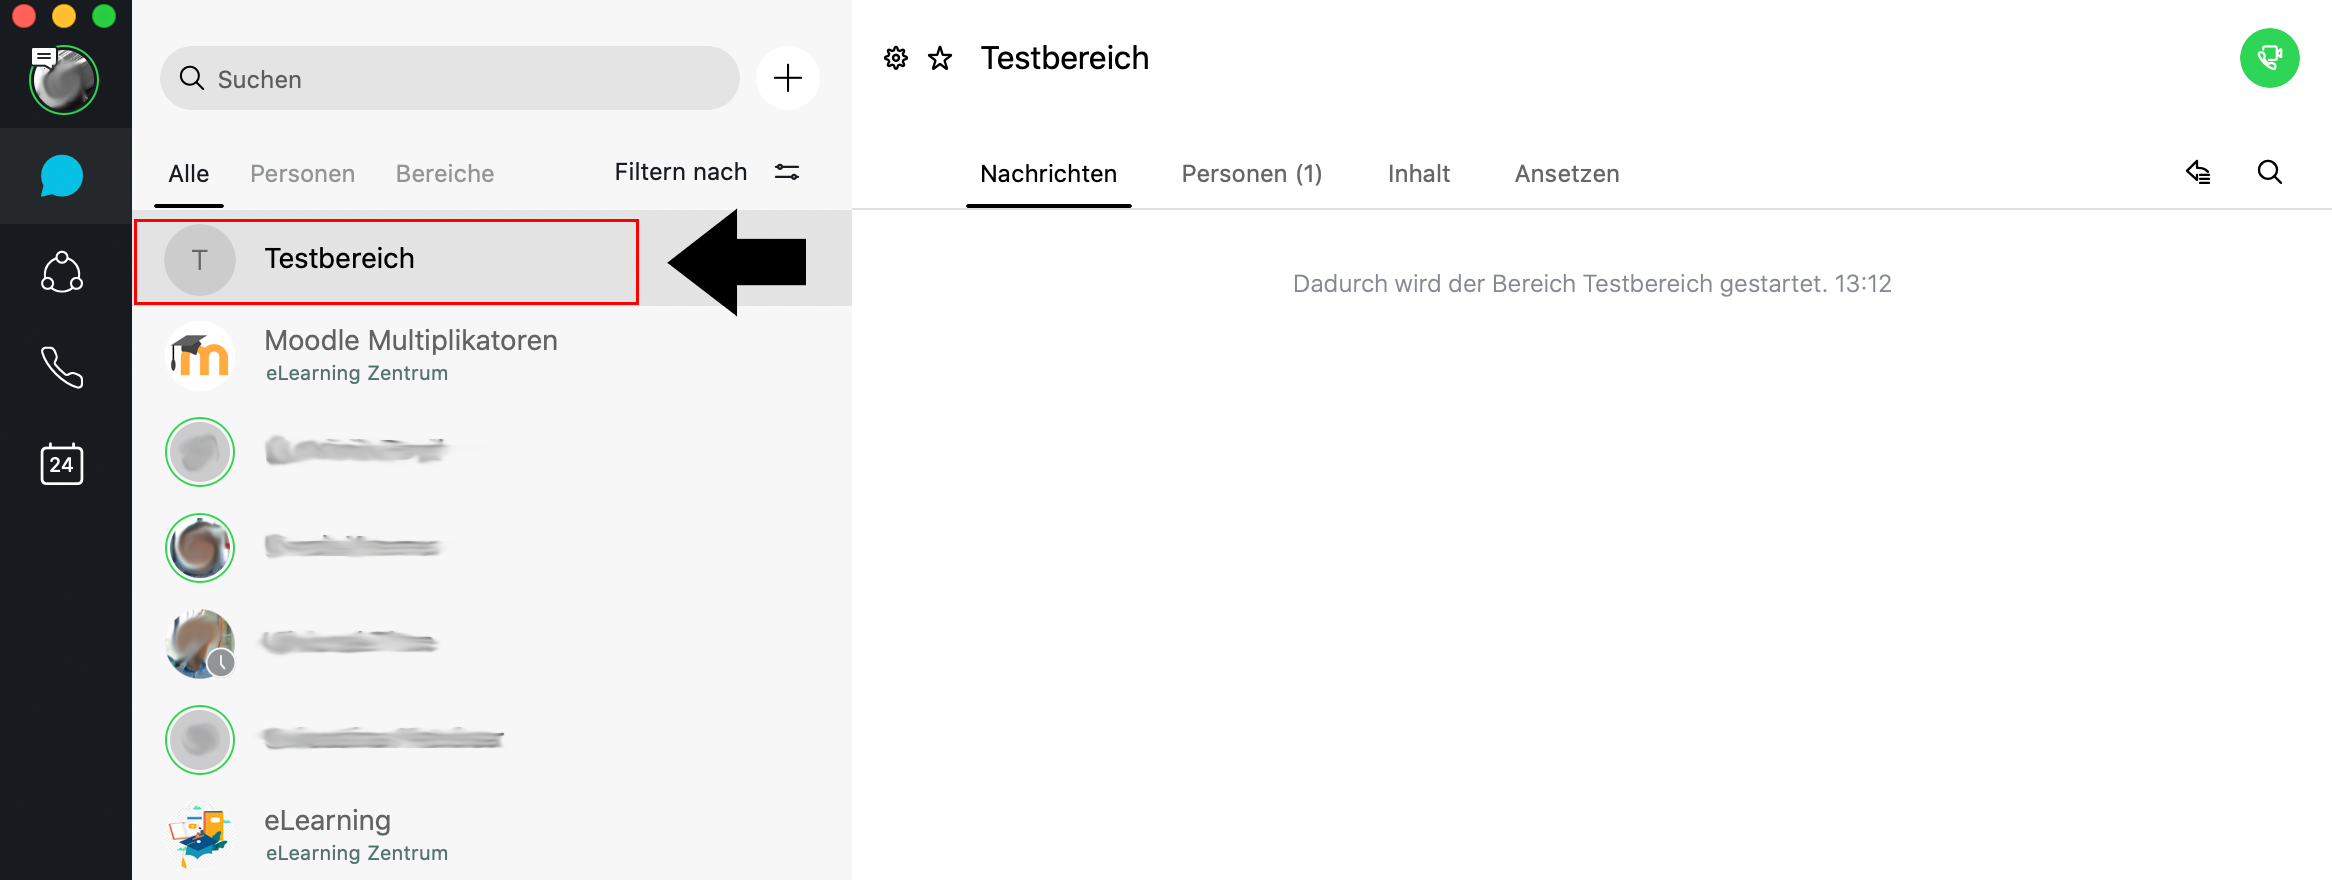
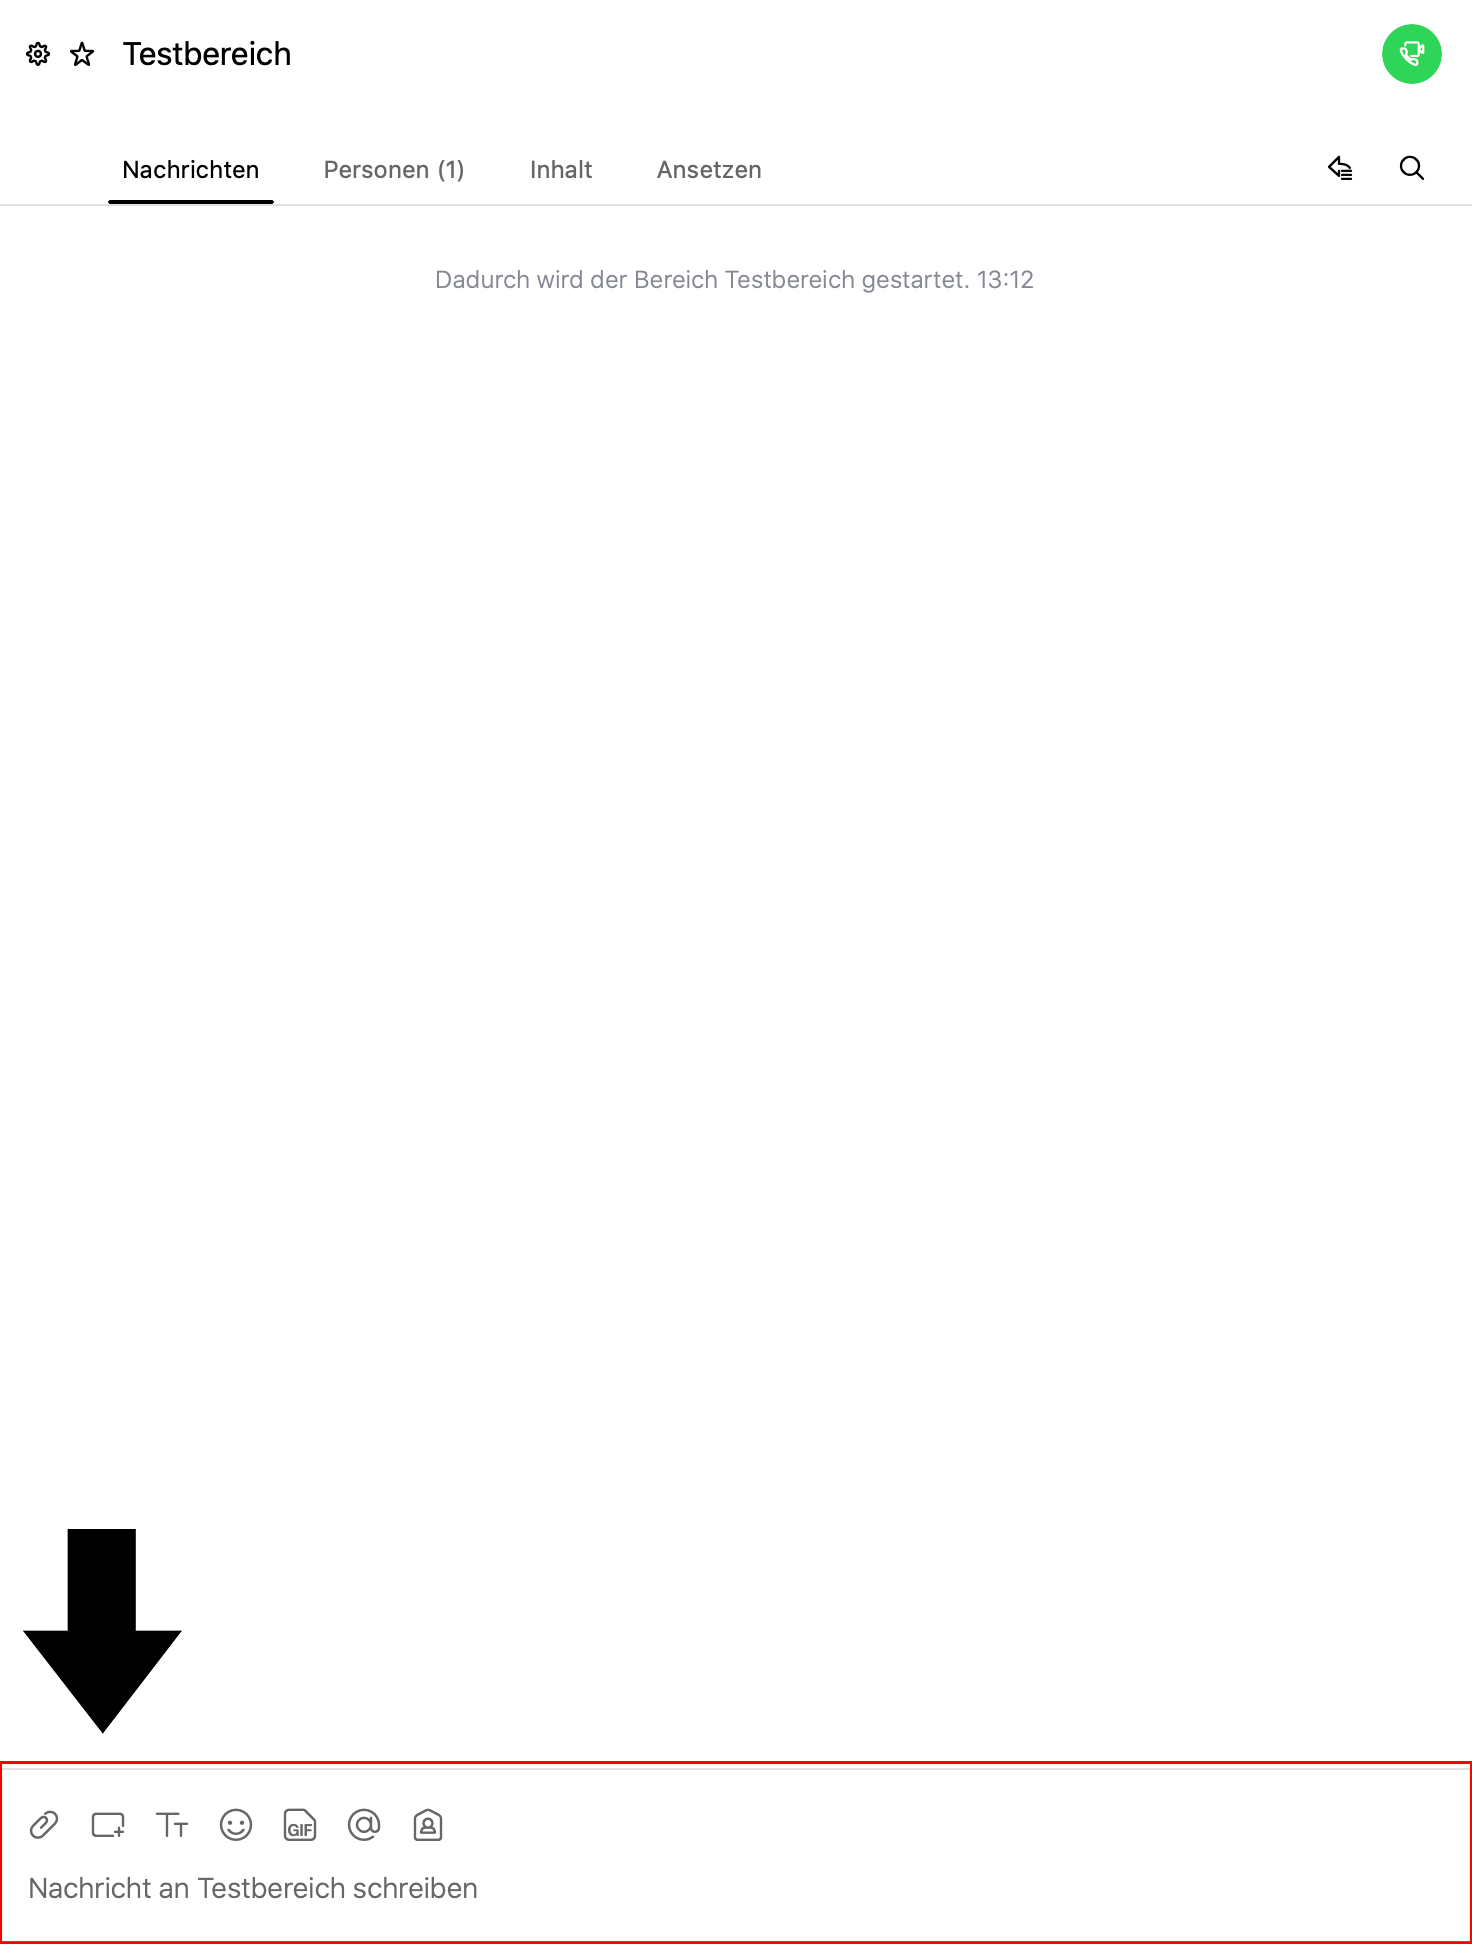
2. Sie haben nun einen Bereich erstellt. Sie finden diesen auf der linken Seite, wo alle Ihre Bereiche und Teams aufgeführt werden. Klicken Sie auf den gewünschten Bereich, erscheint auf der rechten Seite das Chatfenster. In der oberen Leiste können Sie zudem wählen, die Teilnehmenden des Bereichs einzusehen („Personen“), mit „Inhalt“ können Sie auf das virtuelle Whiteboard zugreifen sowie Dateien teilen und mit „Ansetzen“ können Sie eine Verknüpfung mit Outlook herstellen und Webex Meetings planen.
3. Darüber hinaus haben Sie über dem Feld für die Nachrichteneingabe verschiedene Optionen: So können Sie bspw. (von links nach rechts) Dateien anhängen, ein Bildschirmfoto aufnehmen und senden oder die Schriftart formatieren.
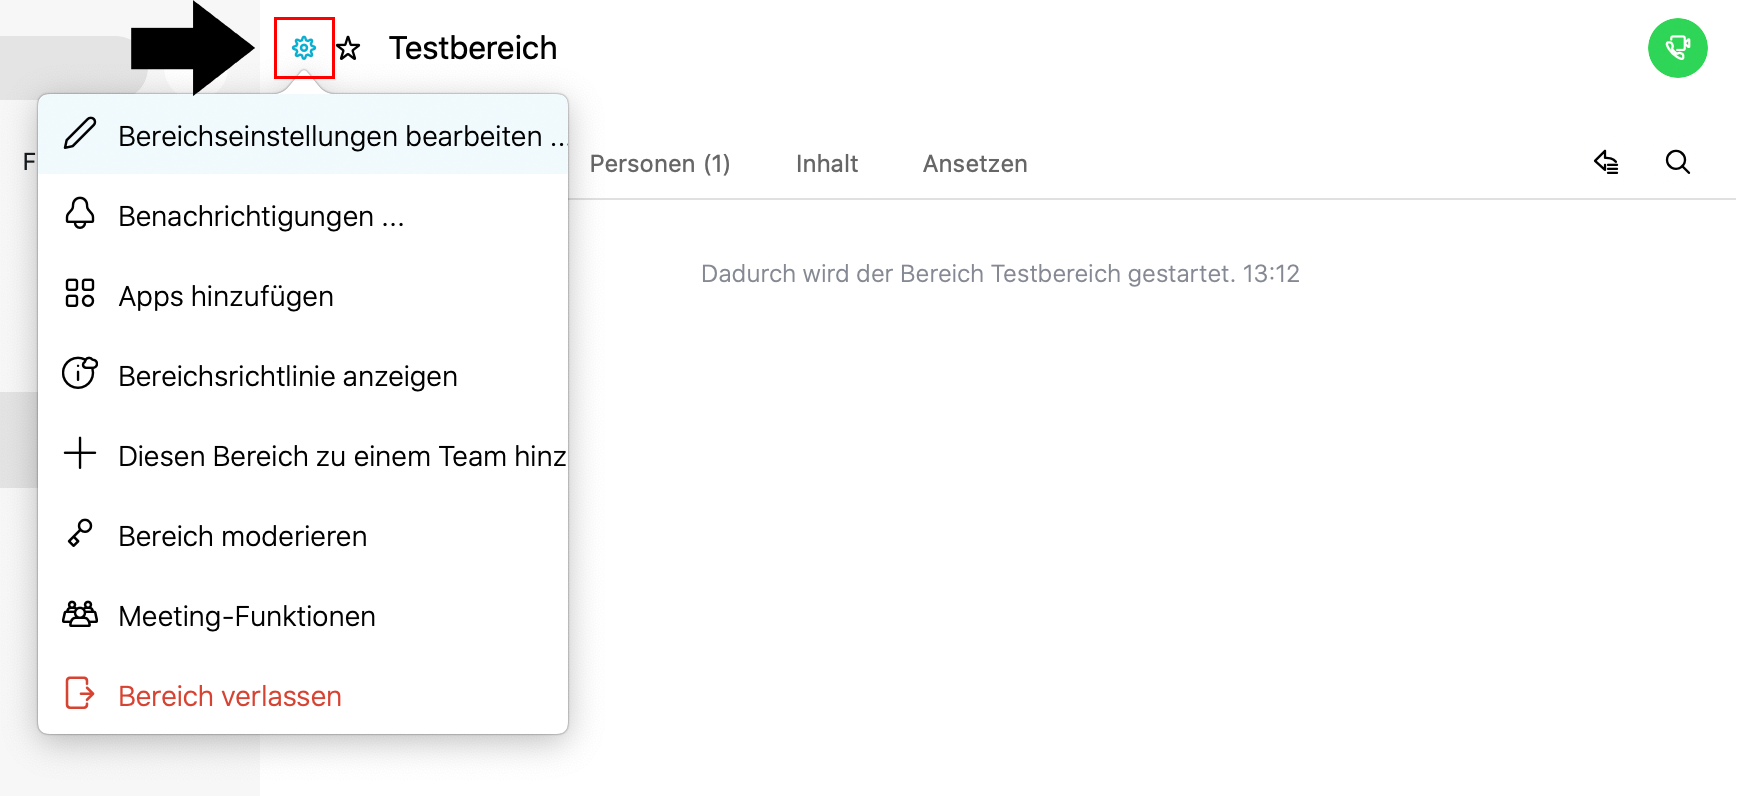
4. Schließlich können Sie über das Einstellungs-Symbol weitere Funktionen und Einstellungen für Ihren Bereich vornehmen.
</details>
<br>
<details> <summary><b style=„text-decoration: underline;cursor: pointer;“>Arbeiten in Teams</b></summary>
</html>
With Webex Teams you have the ability to create so called Spaces and Teams. These serve as rooms in which you can chat with others, share files, or work together on virtual whiteboards. Spaces and Teams are very similar to each other and offer the same features, with only minimal exceptions.
A useful guide for teaching could be the usage of a space as a central hub for a certain course, in which the participants can communicate with each other, while teams could be used as groups for the students, where they can collaborate on tasks.
The following explains the teams and their functions.
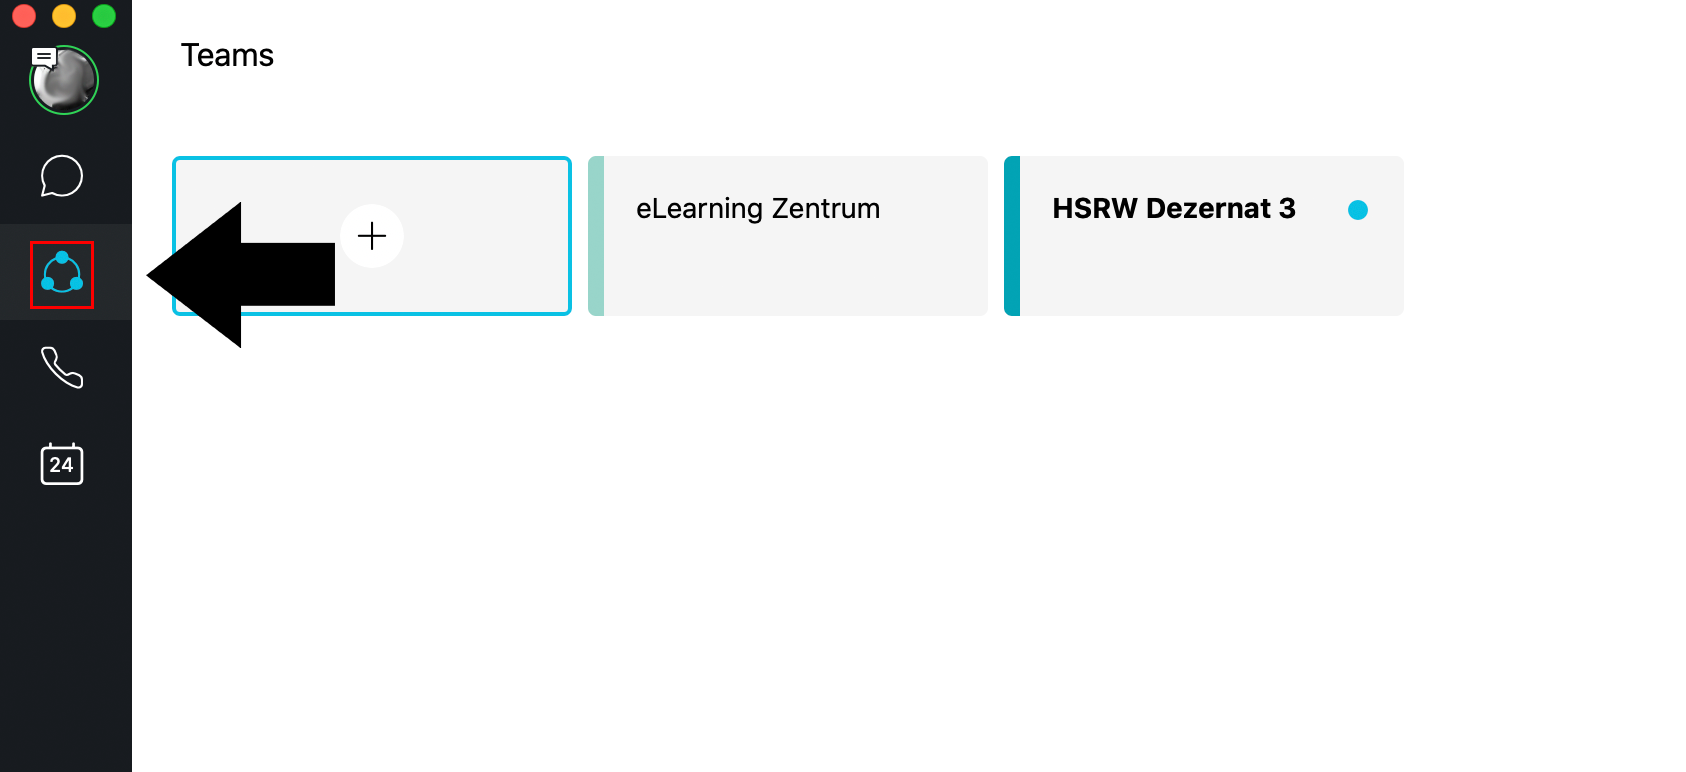
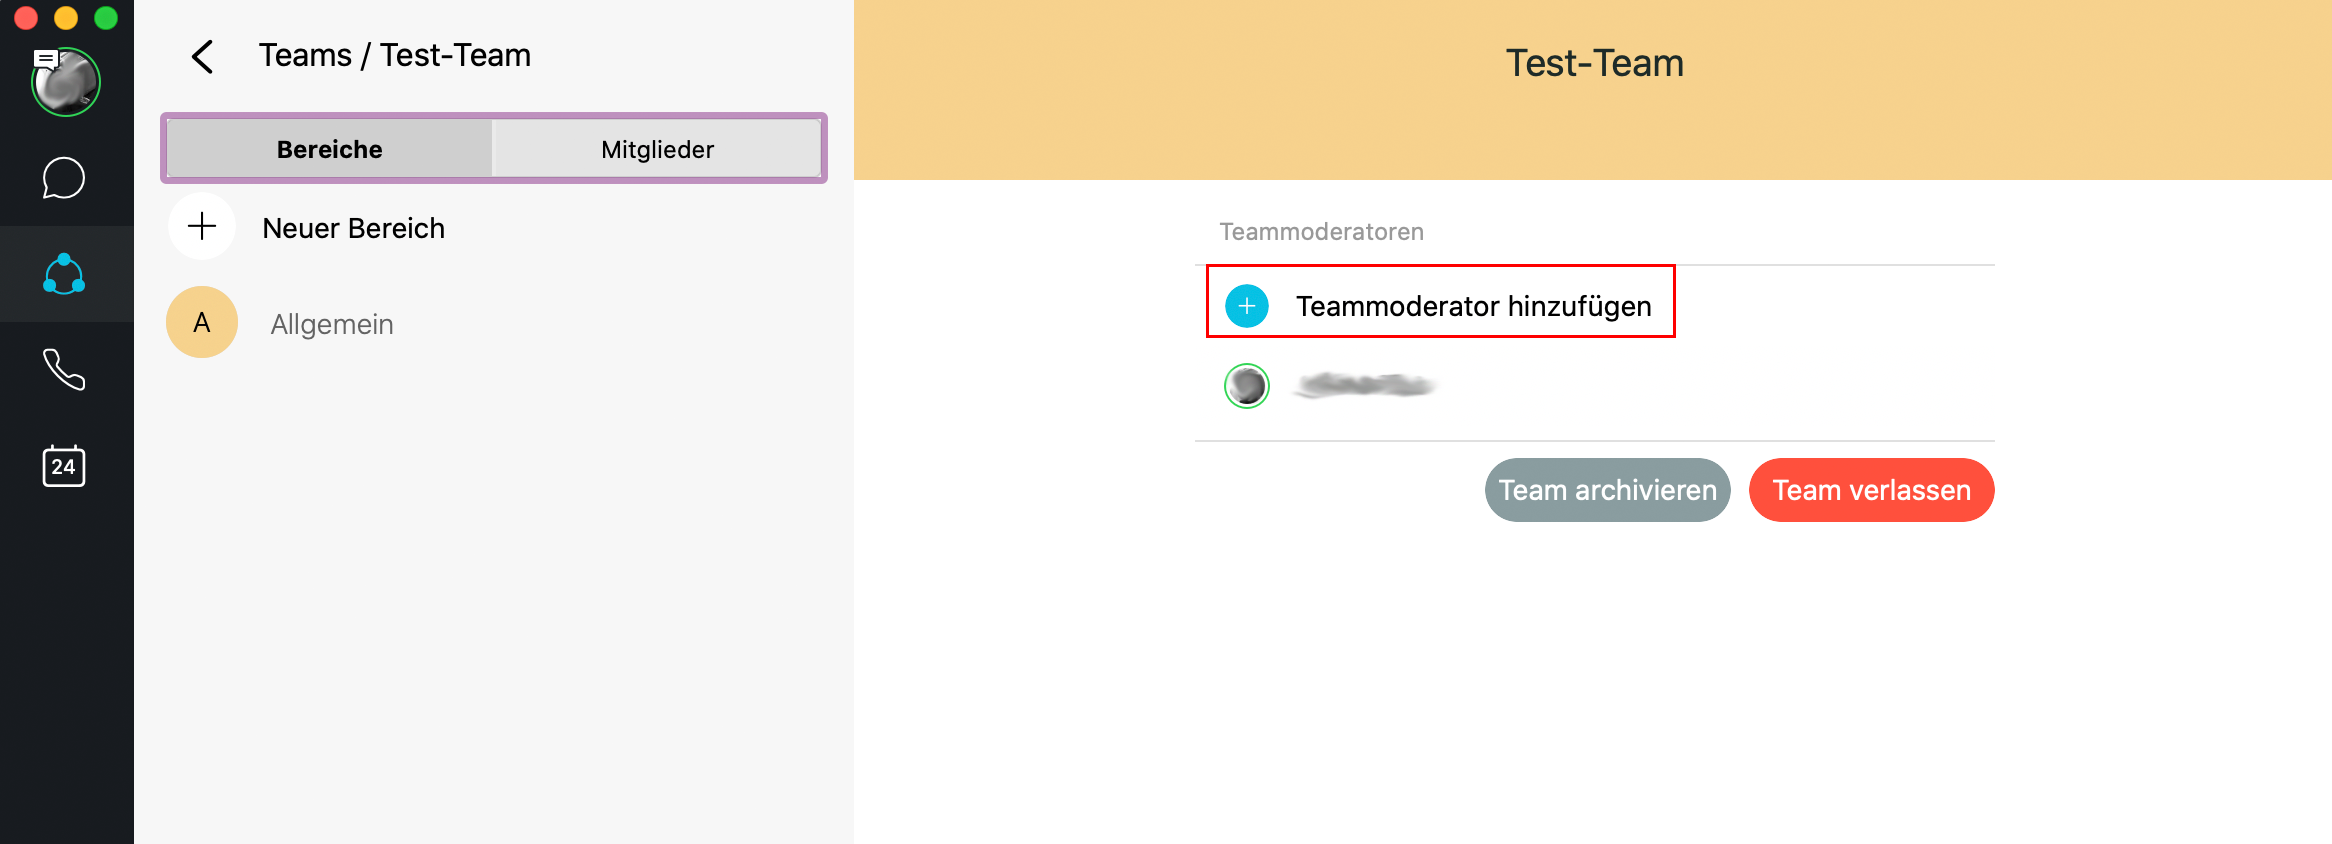
1. To create a new team, click on the circle with three dots in the bar on the left side of the screen. You now see an overview of all your created teams. Click the plus symbol to create a new team. You have to provide a name and you can add members to your team from here.


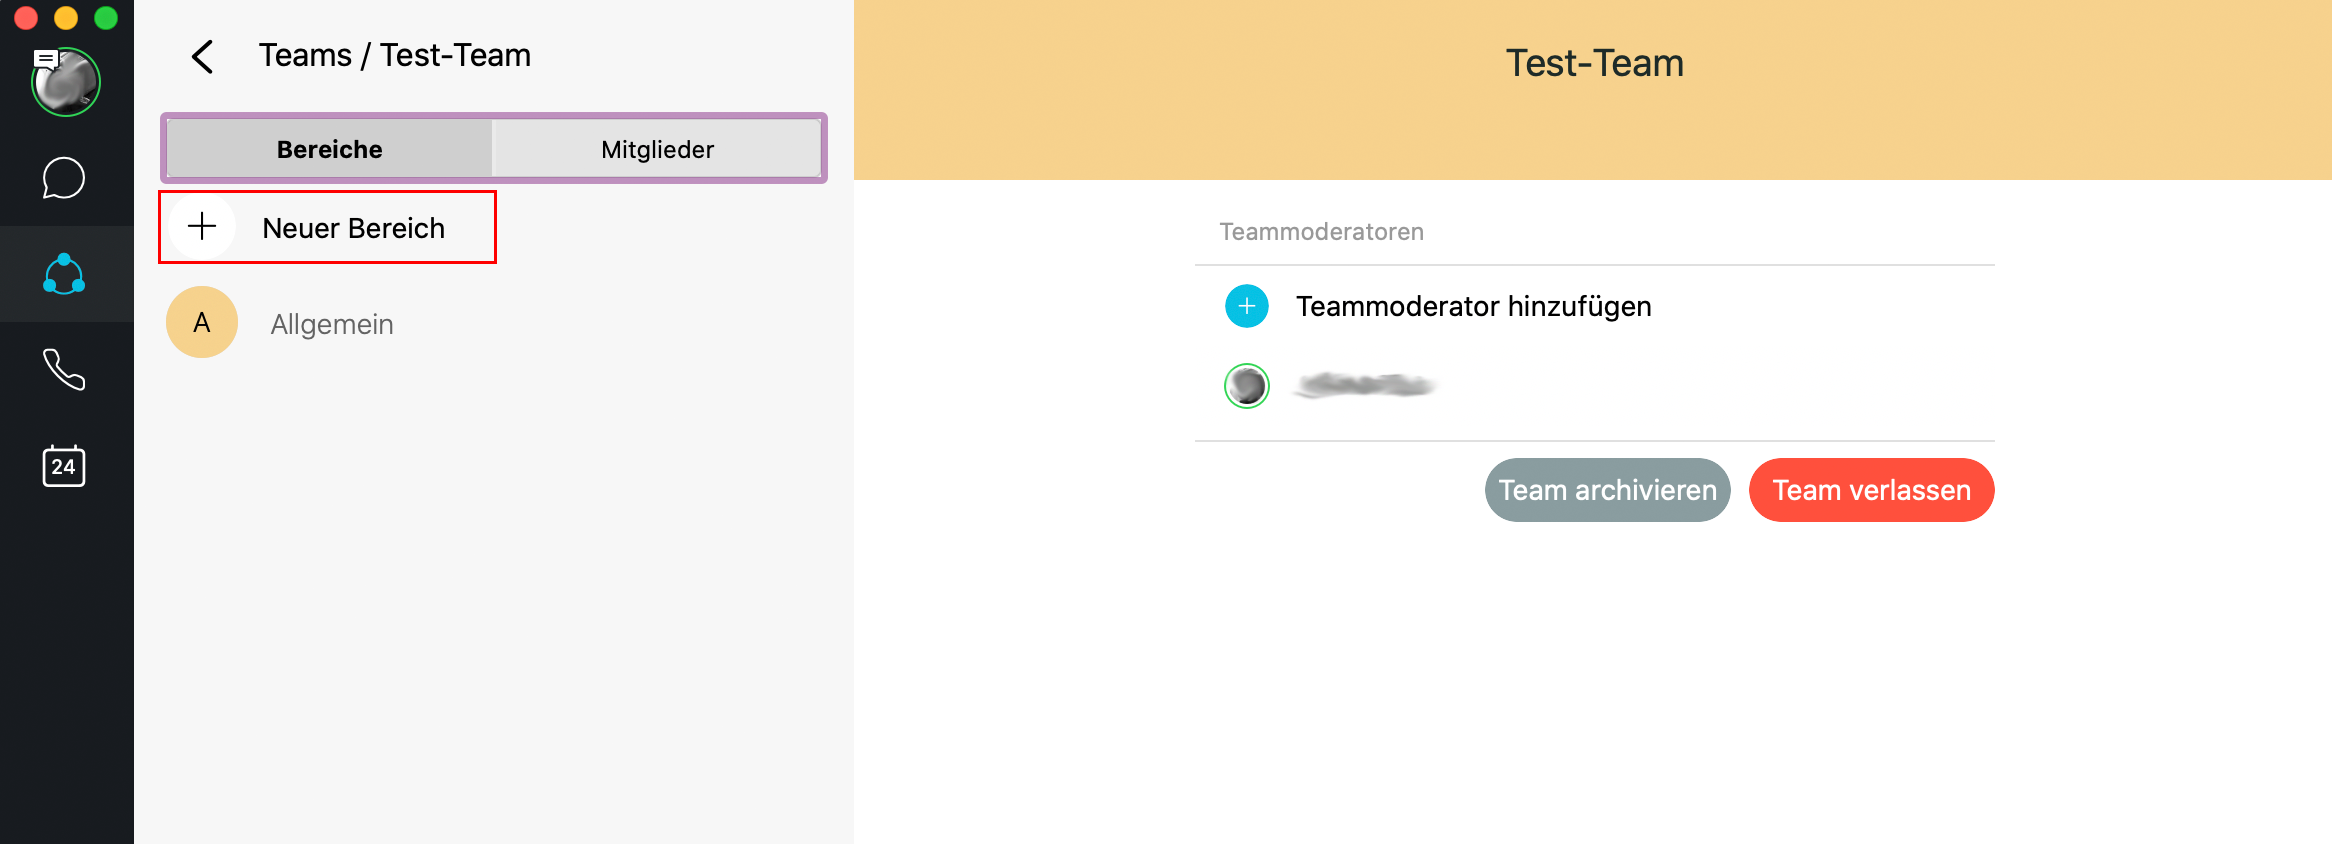
2. You can also divide the team into several Spaces. These are however sub-groups of the team and not the same as the spaces mentioned above. To create a new space within your team, navigate to your team, that you want to add a space to. Now you can add a new space by clicking the plus symbol. You can also set members of your team as moderators for each space. To do so, use the function in the middle of the screen called „Add team moderator“.
3. You can access your team by clicking on the „Chat“ symbol on the left side and selecting the team. The bar on the toplet's you chose between the Messages, a list of the participants in the room, access the whiteboard and a list of files shared with the team, as well as schedule a meeting for that team.

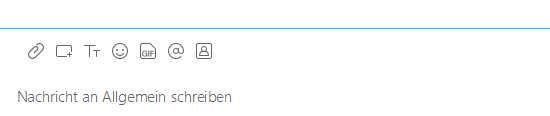
4. Additionally you have several options above the field for inputting messages. You can for example (from left to right) attach a File, make a screenshot and send it or format your font.
</details> <br>
<details> <summary><b style=„text-decoration: underline;cursor: pointer;“>Take part in a Zoom-Call with Webex Teams</b></summary>
</html>
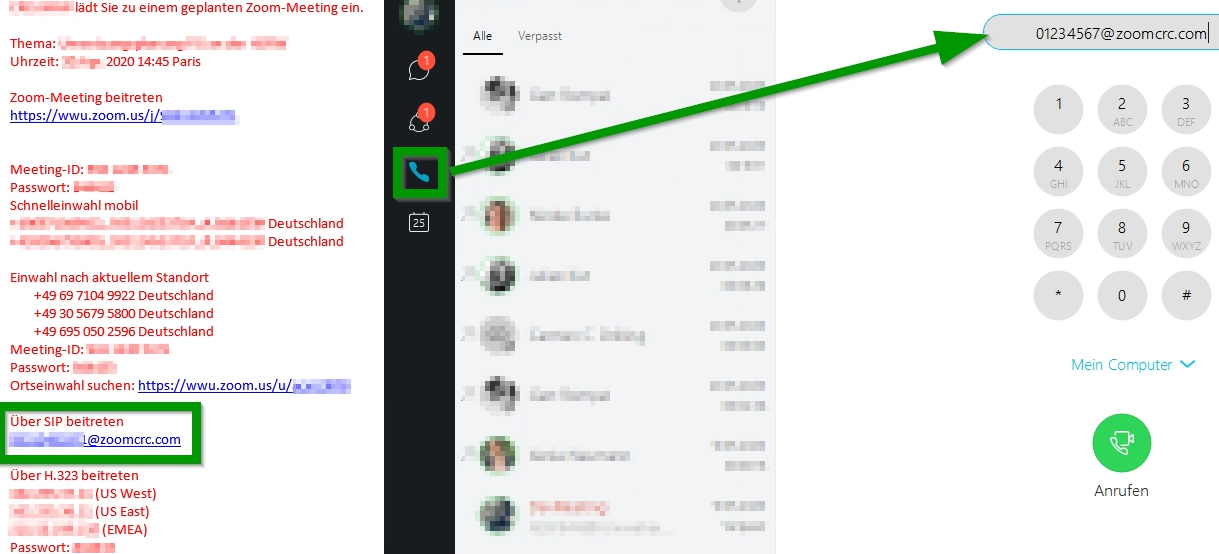
In your Zoom invitation look for the point Join via SIP. Copy the adress, paste it into the adress field in Calls in Teams and confirm with Call.
</details>
<br> <details> <summary><b style=„text-decoration: underline;cursor: pointer;“>Cisco Ressources: Breakout Sessions Reimagined</b></summary>
</html>
Here you will find a PDF with a Step-by-Step Guide to use Breakout Session with Webex Teams:

</details>
<br>
</html>