
Webex Teams
Webex Teams is a part of the Webex-Family, which is dedicated to digital Collaboration and working in Groups in a professional context. With Webex Teams you can organize and lead your Team and chat with your colleagues or students, exchange Files, hold videoconferences ad-hoc, use virtual whiteboards and do much more.
Usage of Webex Teams
<html> <style> .popupHintergrund { background-color: LightSteelBlue; border-radius: 5px; padding-left: 10px; padding-right: 10px; } </style> <body>
<details> <summary><b style=„text-decoration: underline;cursor: pointer“>Sending a message to people in Webex Teams</b></summary>
</html>
1. Via the Searchfunction or via the + at Contact Person you can search for the person you want to send a message to.
2. By clicking on the name you will open the Chat.
3. Here you can send a message.
</details>
<br>
<details> <summary><b style=„text-decoration: underline;cursor: pointer;“>Working in spaces</b></summary>
</html>
With Webex Teams you have the ability to create so called Spaces and Teams. These serve as rooms in which you can chat with others, share files, or work together on virtual whiteboards. Spaces and Teams are very similar to each other and offer the same features, with only minimal exceptions.
A useful separation for teaching could be the usage of a space as a central hub for a certain course, in which the participants can communicate with each other, while teams could be used as groups for the students, where they can collaborate on tasks.
The following explains spaces and their features.
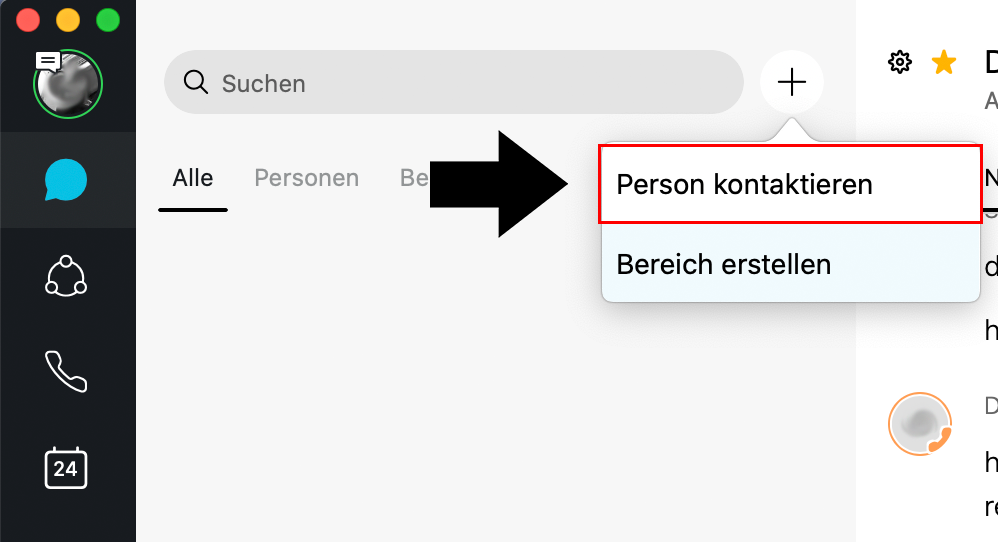
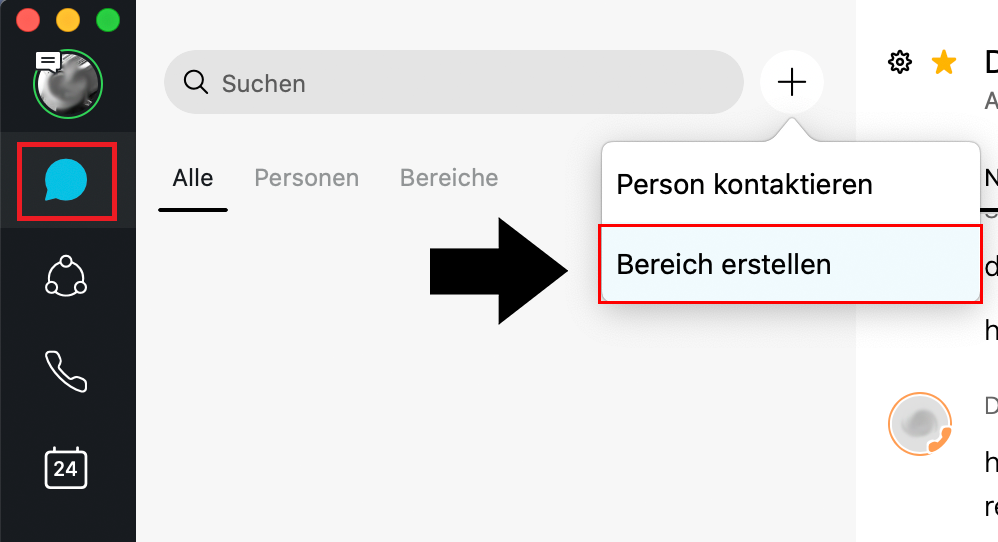
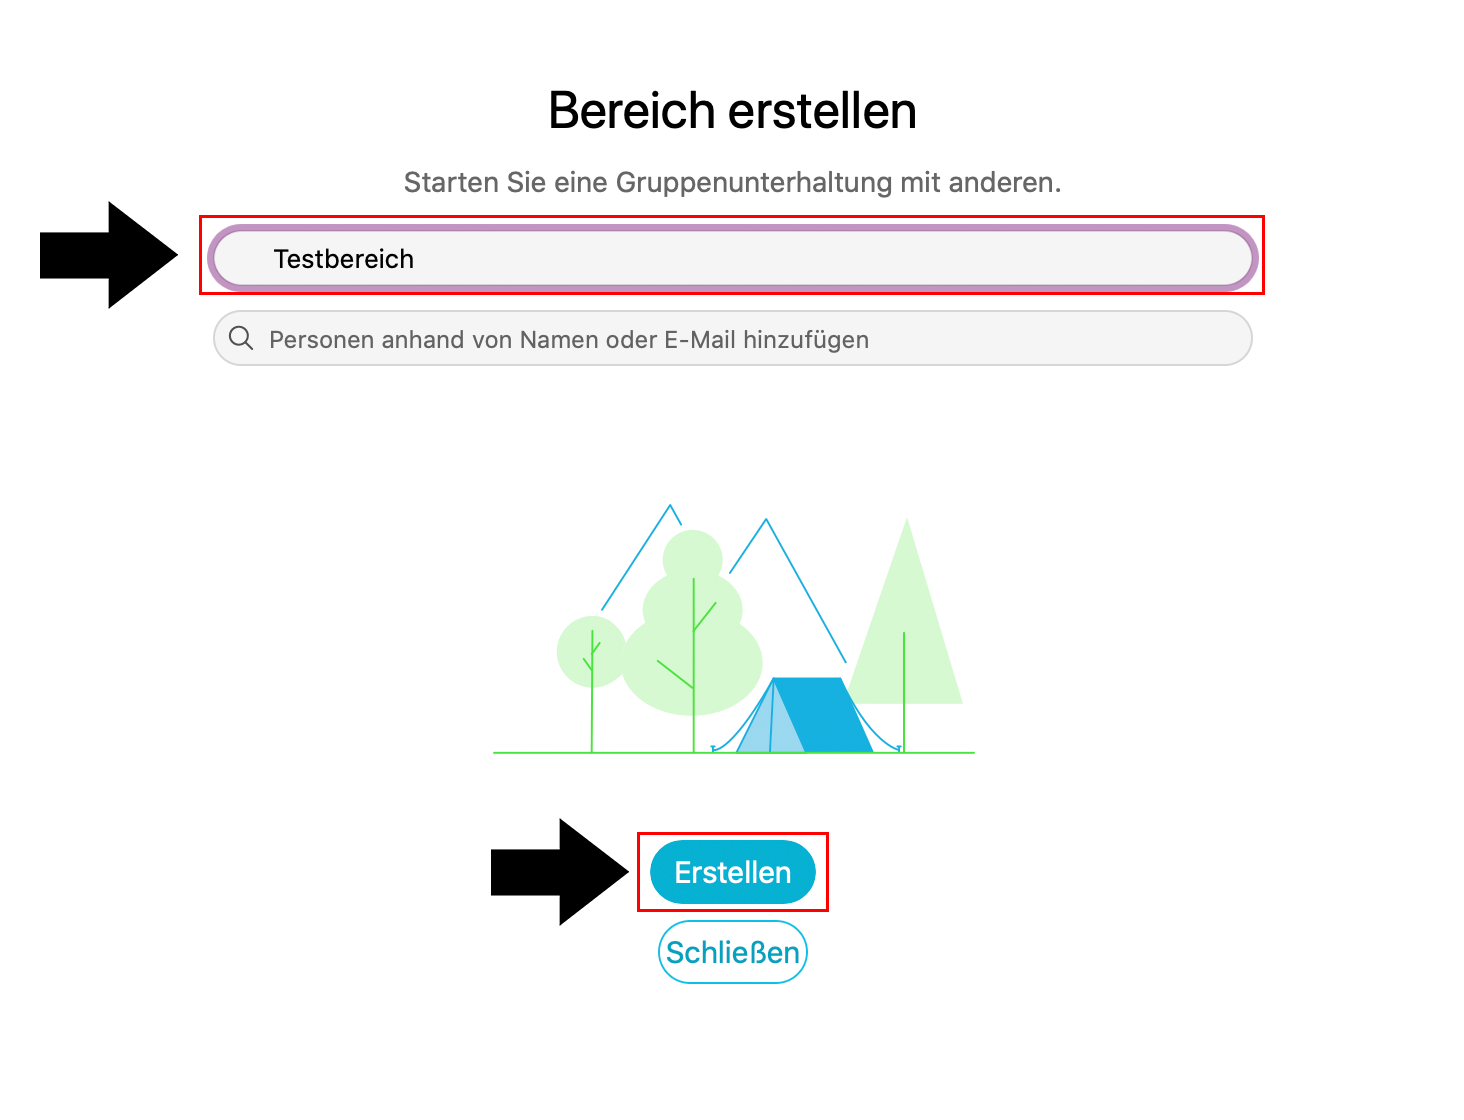
1. To create a new space, click in the bar on the list onto the chat symbol. Next to the search bar a plus symbol will appear. Clicking on it brings up the option to create a new space. You will need to provide a name for the space and you can invite people to join the space from here.
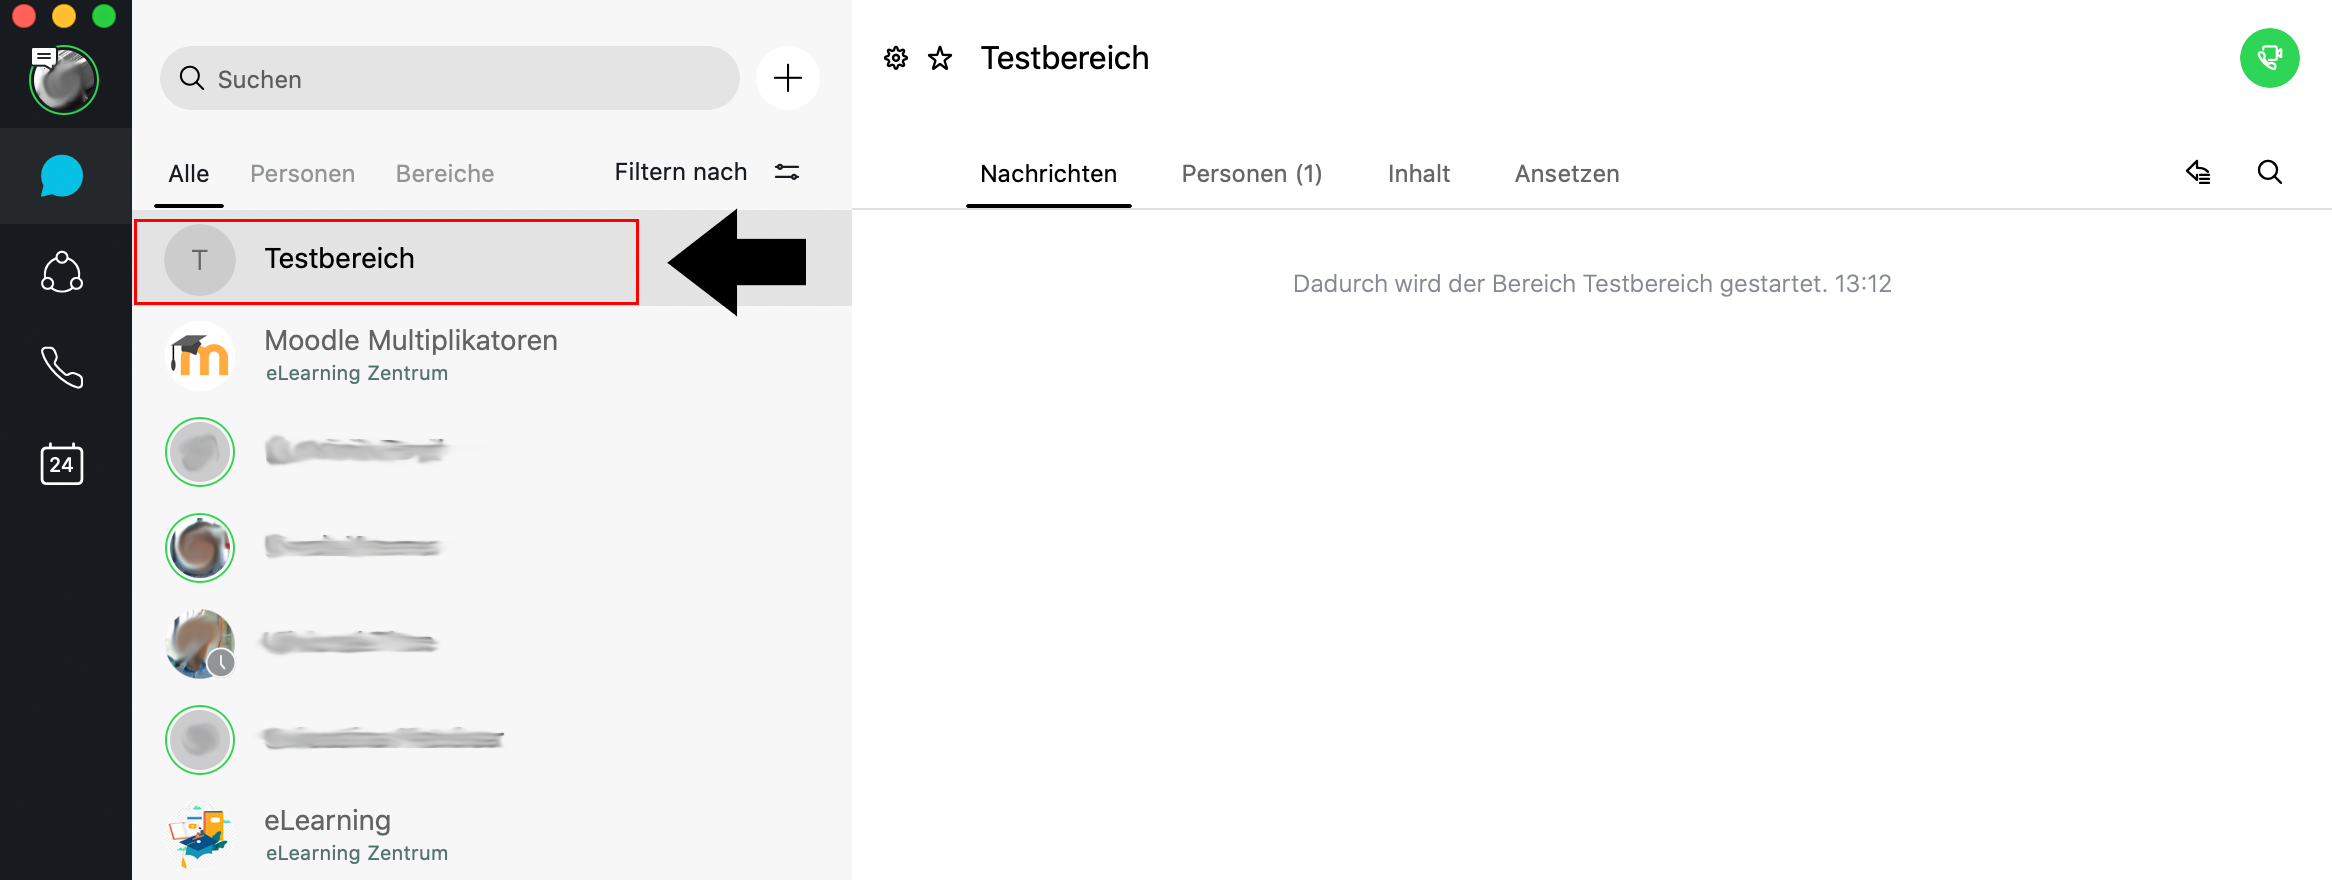
2. You have now created a space. You can find it on the left, where all your spaces and teams are listed. If you click on the space, the chat window appears on the right. The top bar also allows you to switch from messages to a list of the participants of the space, the digital whiteboard and a list of shared media such as pictures and videos, as well as letting you schedule a webex meeting within your space.
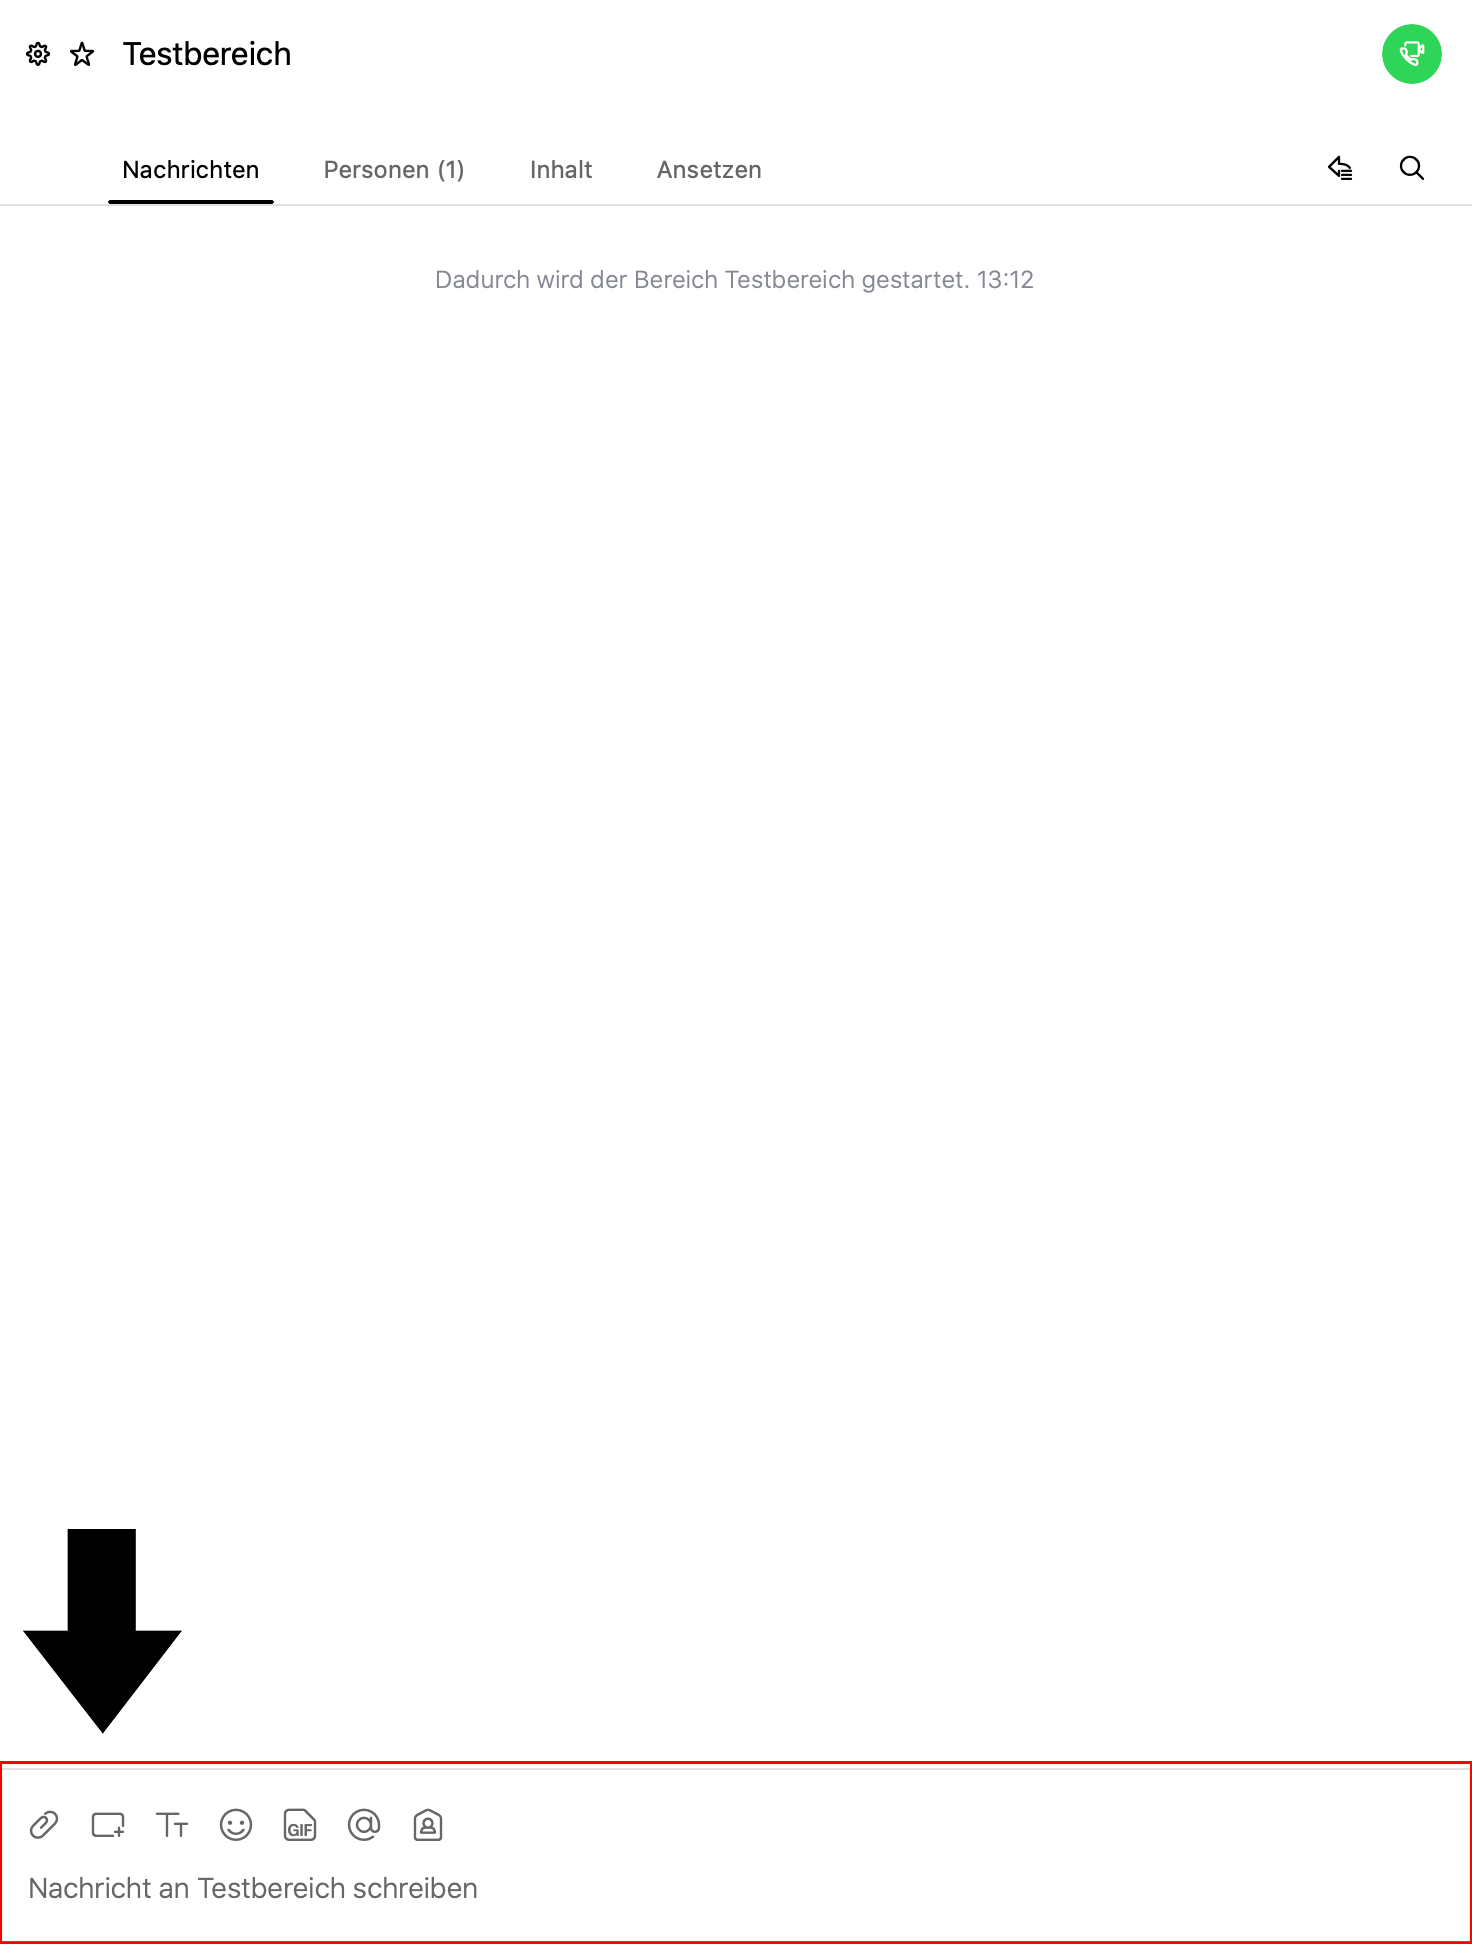
3. Furthermore you have several options for message input. For example you can (from left to right) attach a file, make a screenshot, or change your font.
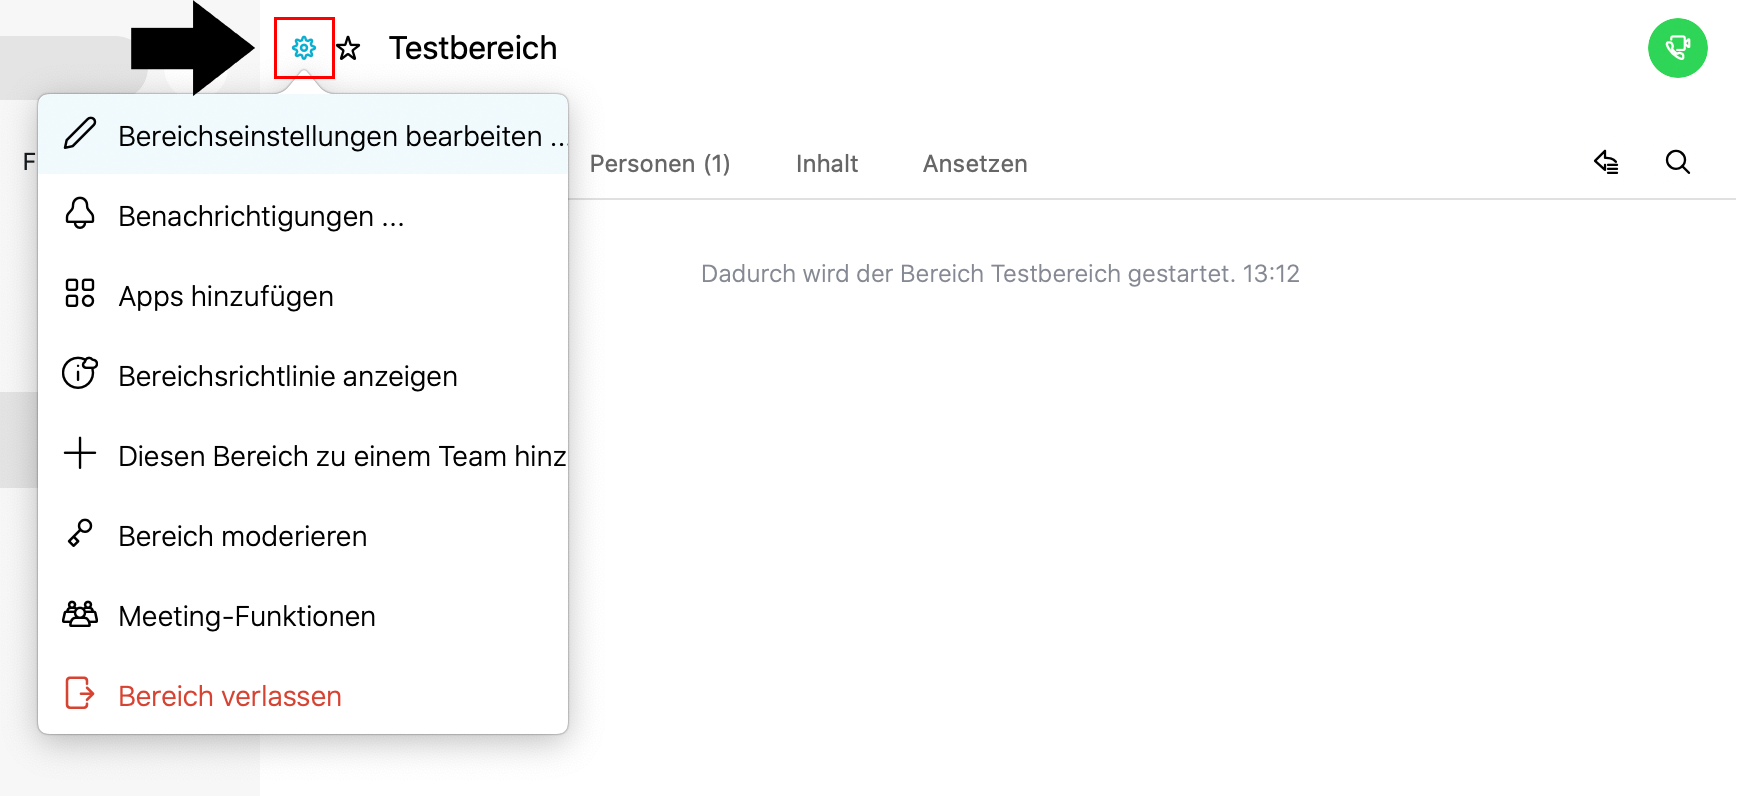
4. Finally, using the settings symbol you can adjust several other settings and features of your space
</details>
<br>
<details> <summary><b style=„text-decoration: underline;cursor: pointer;“>Working in Teams</b></summary>
</html>
With Webex Teams you have the ability to create so called Spaces and Teams. These serve as rooms in which you can chat with others, share files, or work together on virtual whiteboards. Spaces and Teams are very similar to each other and offer the same features, with only minimal exceptions.
A useful separation for teaching could be the usage of a space as a central hub for a certain course, in which the participants can communicate with each other, while teams could be used as groups for the students, where they can collaborate on tasks.
The following explains the teams and their functions.
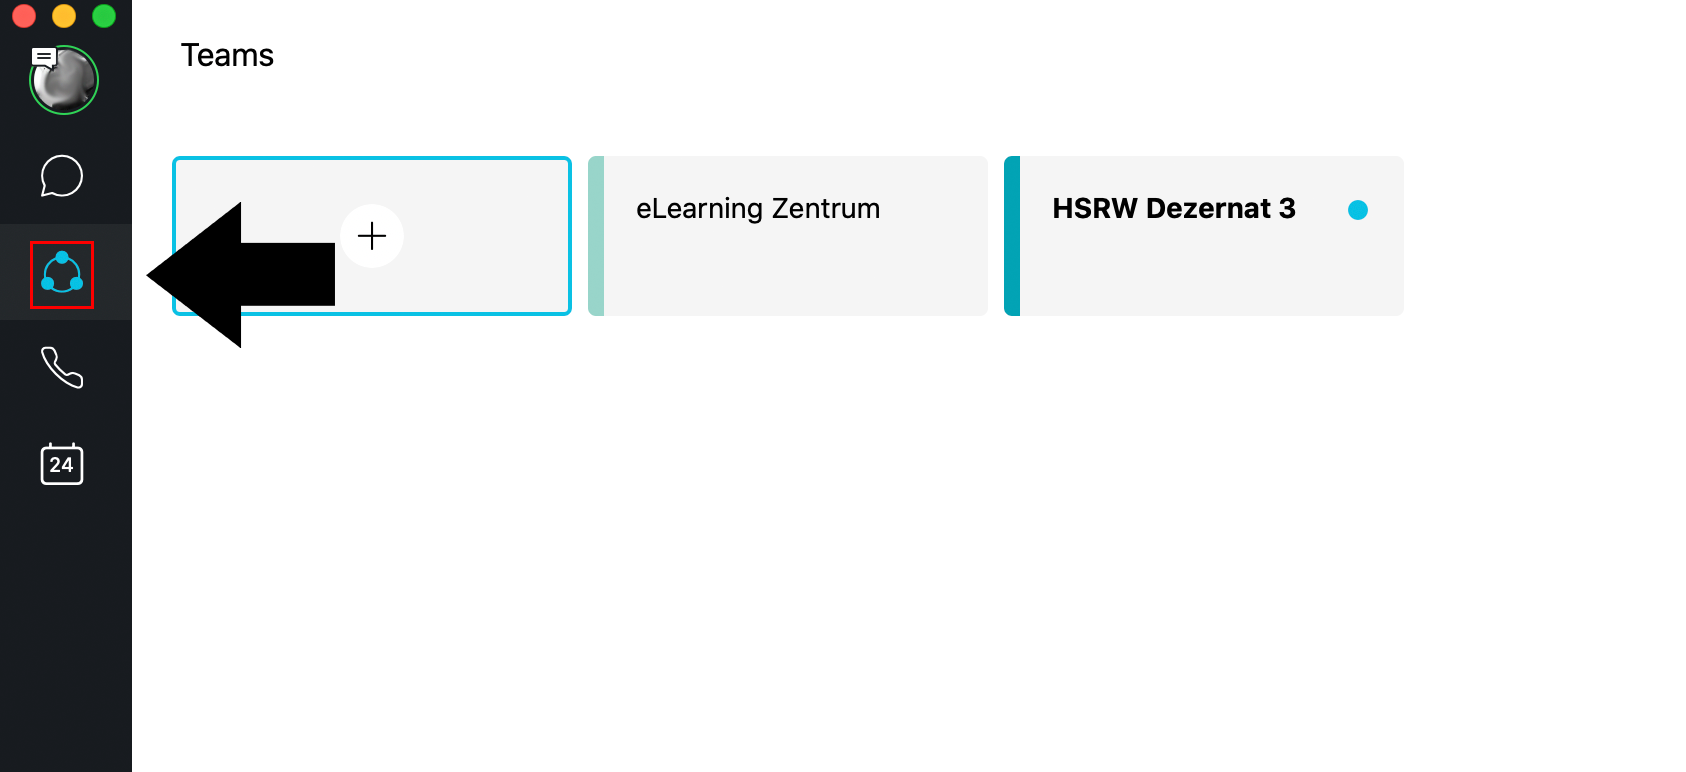
1. To create a new team, click on the circle with three dots in the bar on the left side of the screen. You now see an overview of all your created teams. Click the plus symbol to create a new team. You have to provide a name and you can add members to your team from here.


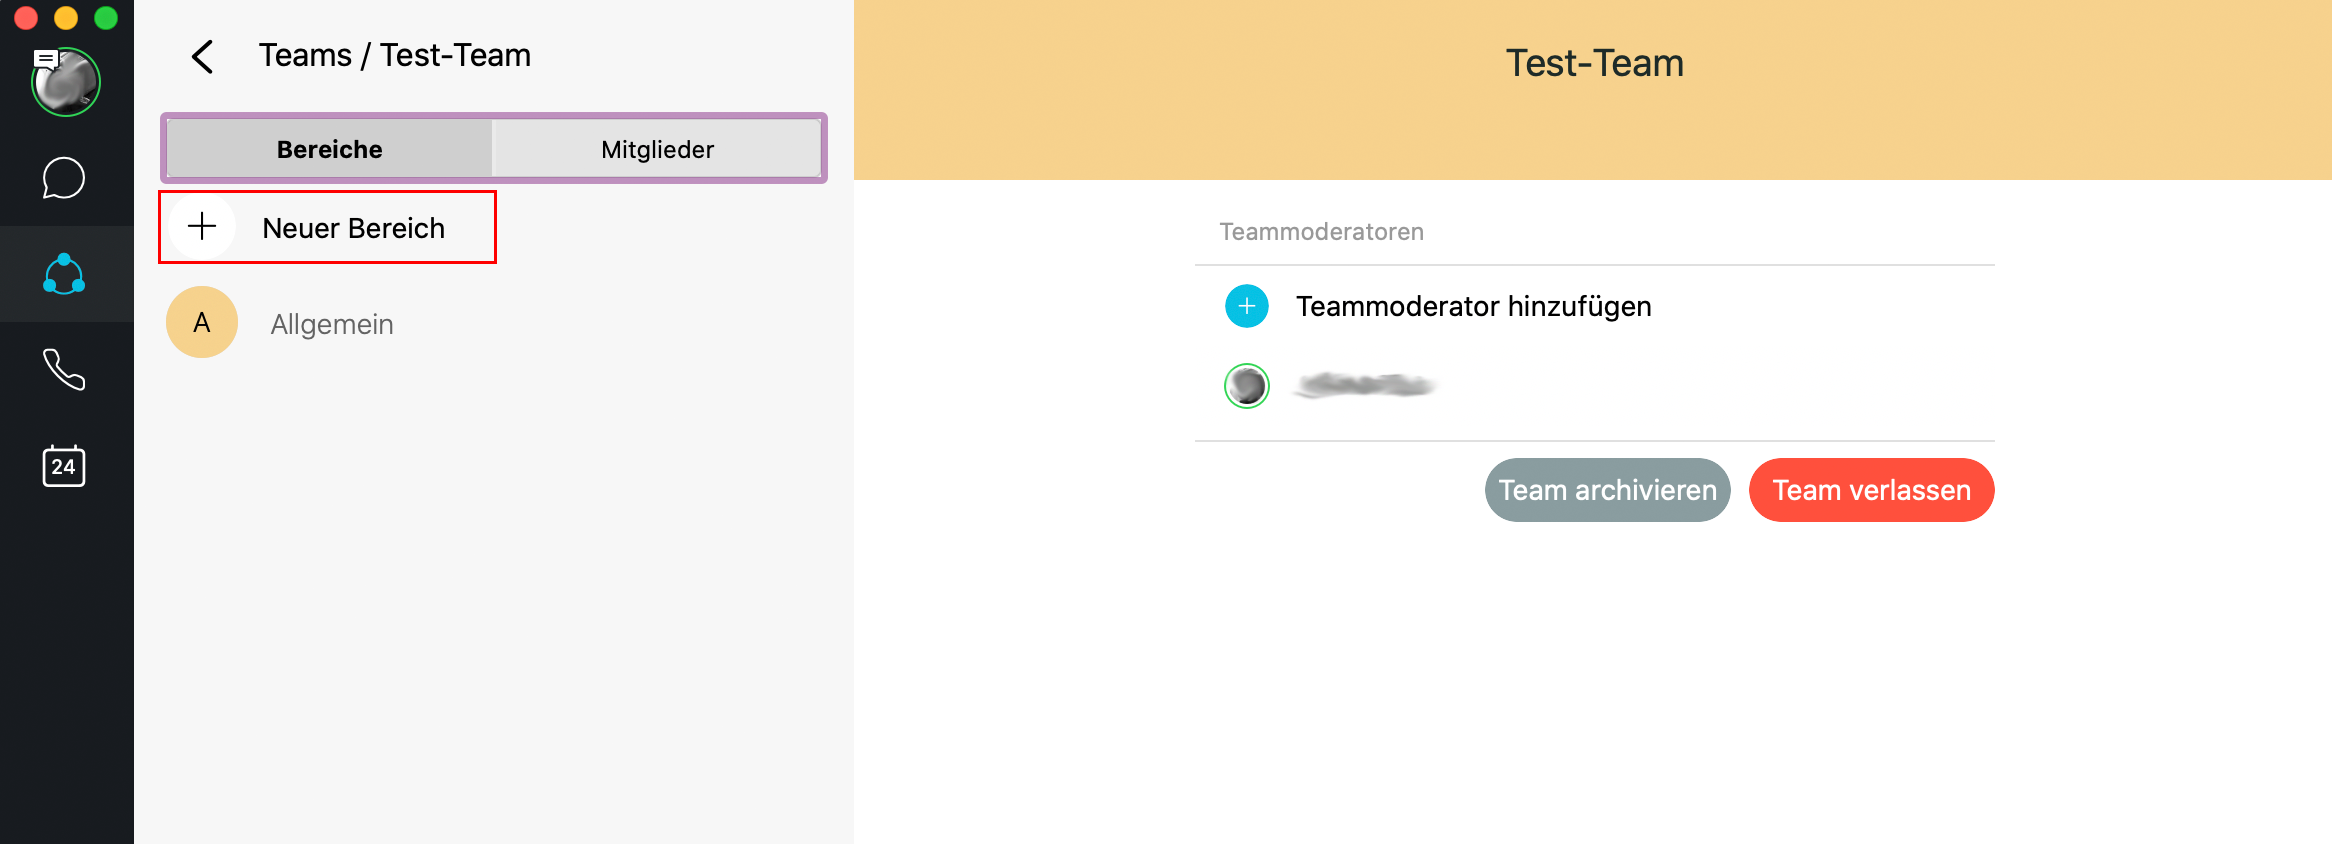
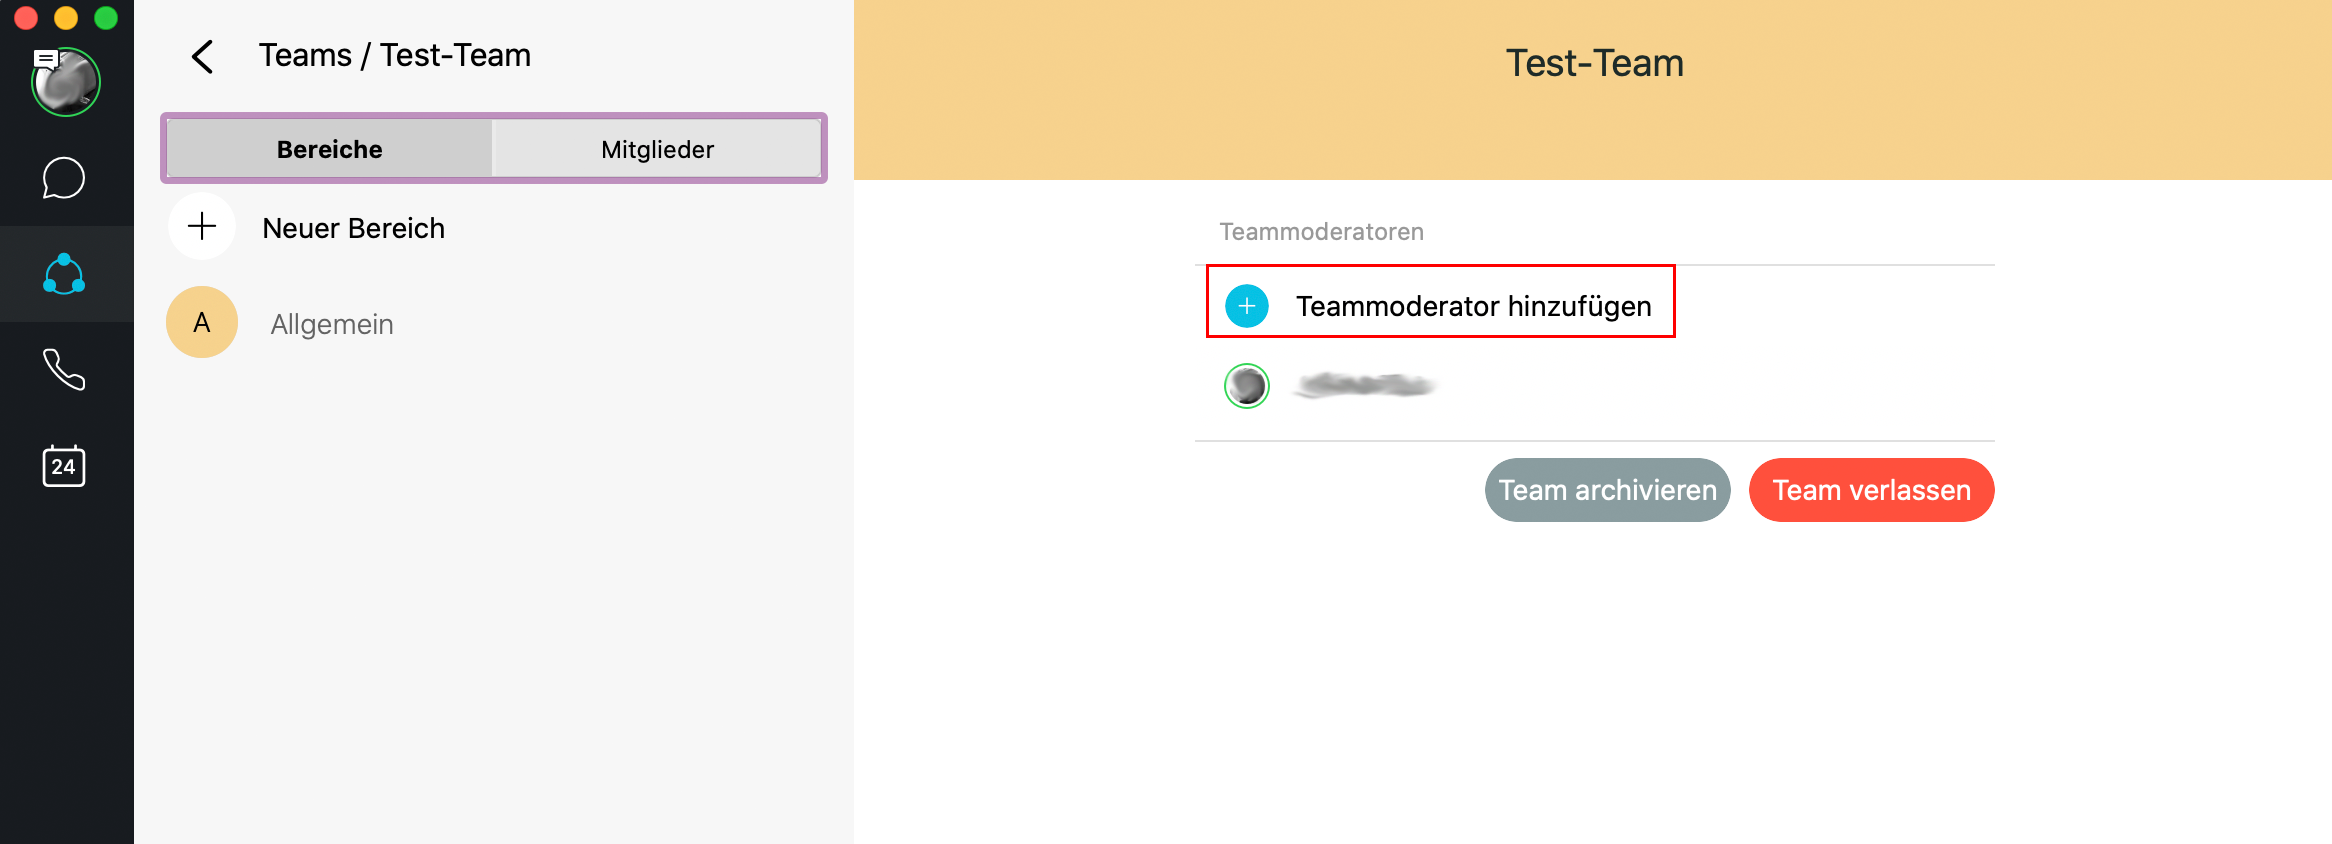
2. You can also divide the team into several Spaces. These are however sub-groups of the team and not the same as the spaces mentioned above. To create a new space within your team, navigate to your team, that you want to add a space to. Now you can add a new space by clicking the plus symbol. You can also set members of your team as moderators for each space. To do so, use the function in the middle of the screen called „Add team moderator“.
3. You can access your team by clicking on the „Chat“ symbol on the left side and selecting the team. The bar on the toplet's you chose between the Messages, a list of the participants in the room, access the whiteboard and a list of files shared with the team, as well as schedule a meeting for that team.

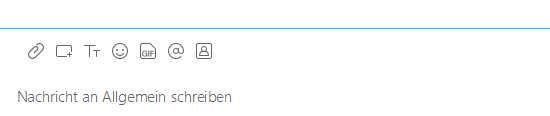
4. Additionally you have several options above the field for inputting messages. You can for example (from left to right) attach a File, make a screenshot and send it or format your font.
</details> <br>
<details> <summary><b style=„text-decoration: underline;cursor: pointer;“>Take part in a Zoom-Call with Webex Teams</b></summary>
</html>
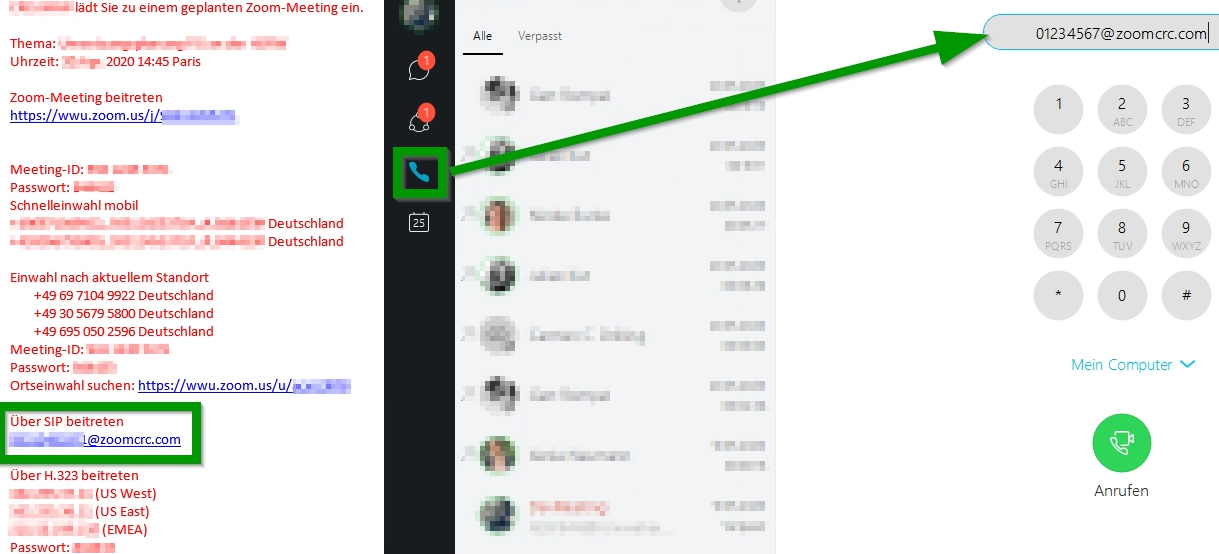
In your Zoom invitation look for the point Join via SIP. Copy the adress, paste it into the adress field in Calls in Teams and confirm with Call.
</details>
<br> <details> <summary><b style=„text-decoration: underline;cursor: pointer;“>Cisco Ressources: Breakout Sessions Reimagined</b></summary>
</html>
Here you will find a PDF with a Step-by-Step Guide to use Breakout Session with Webex Teams:

</details>
<br>
</html>